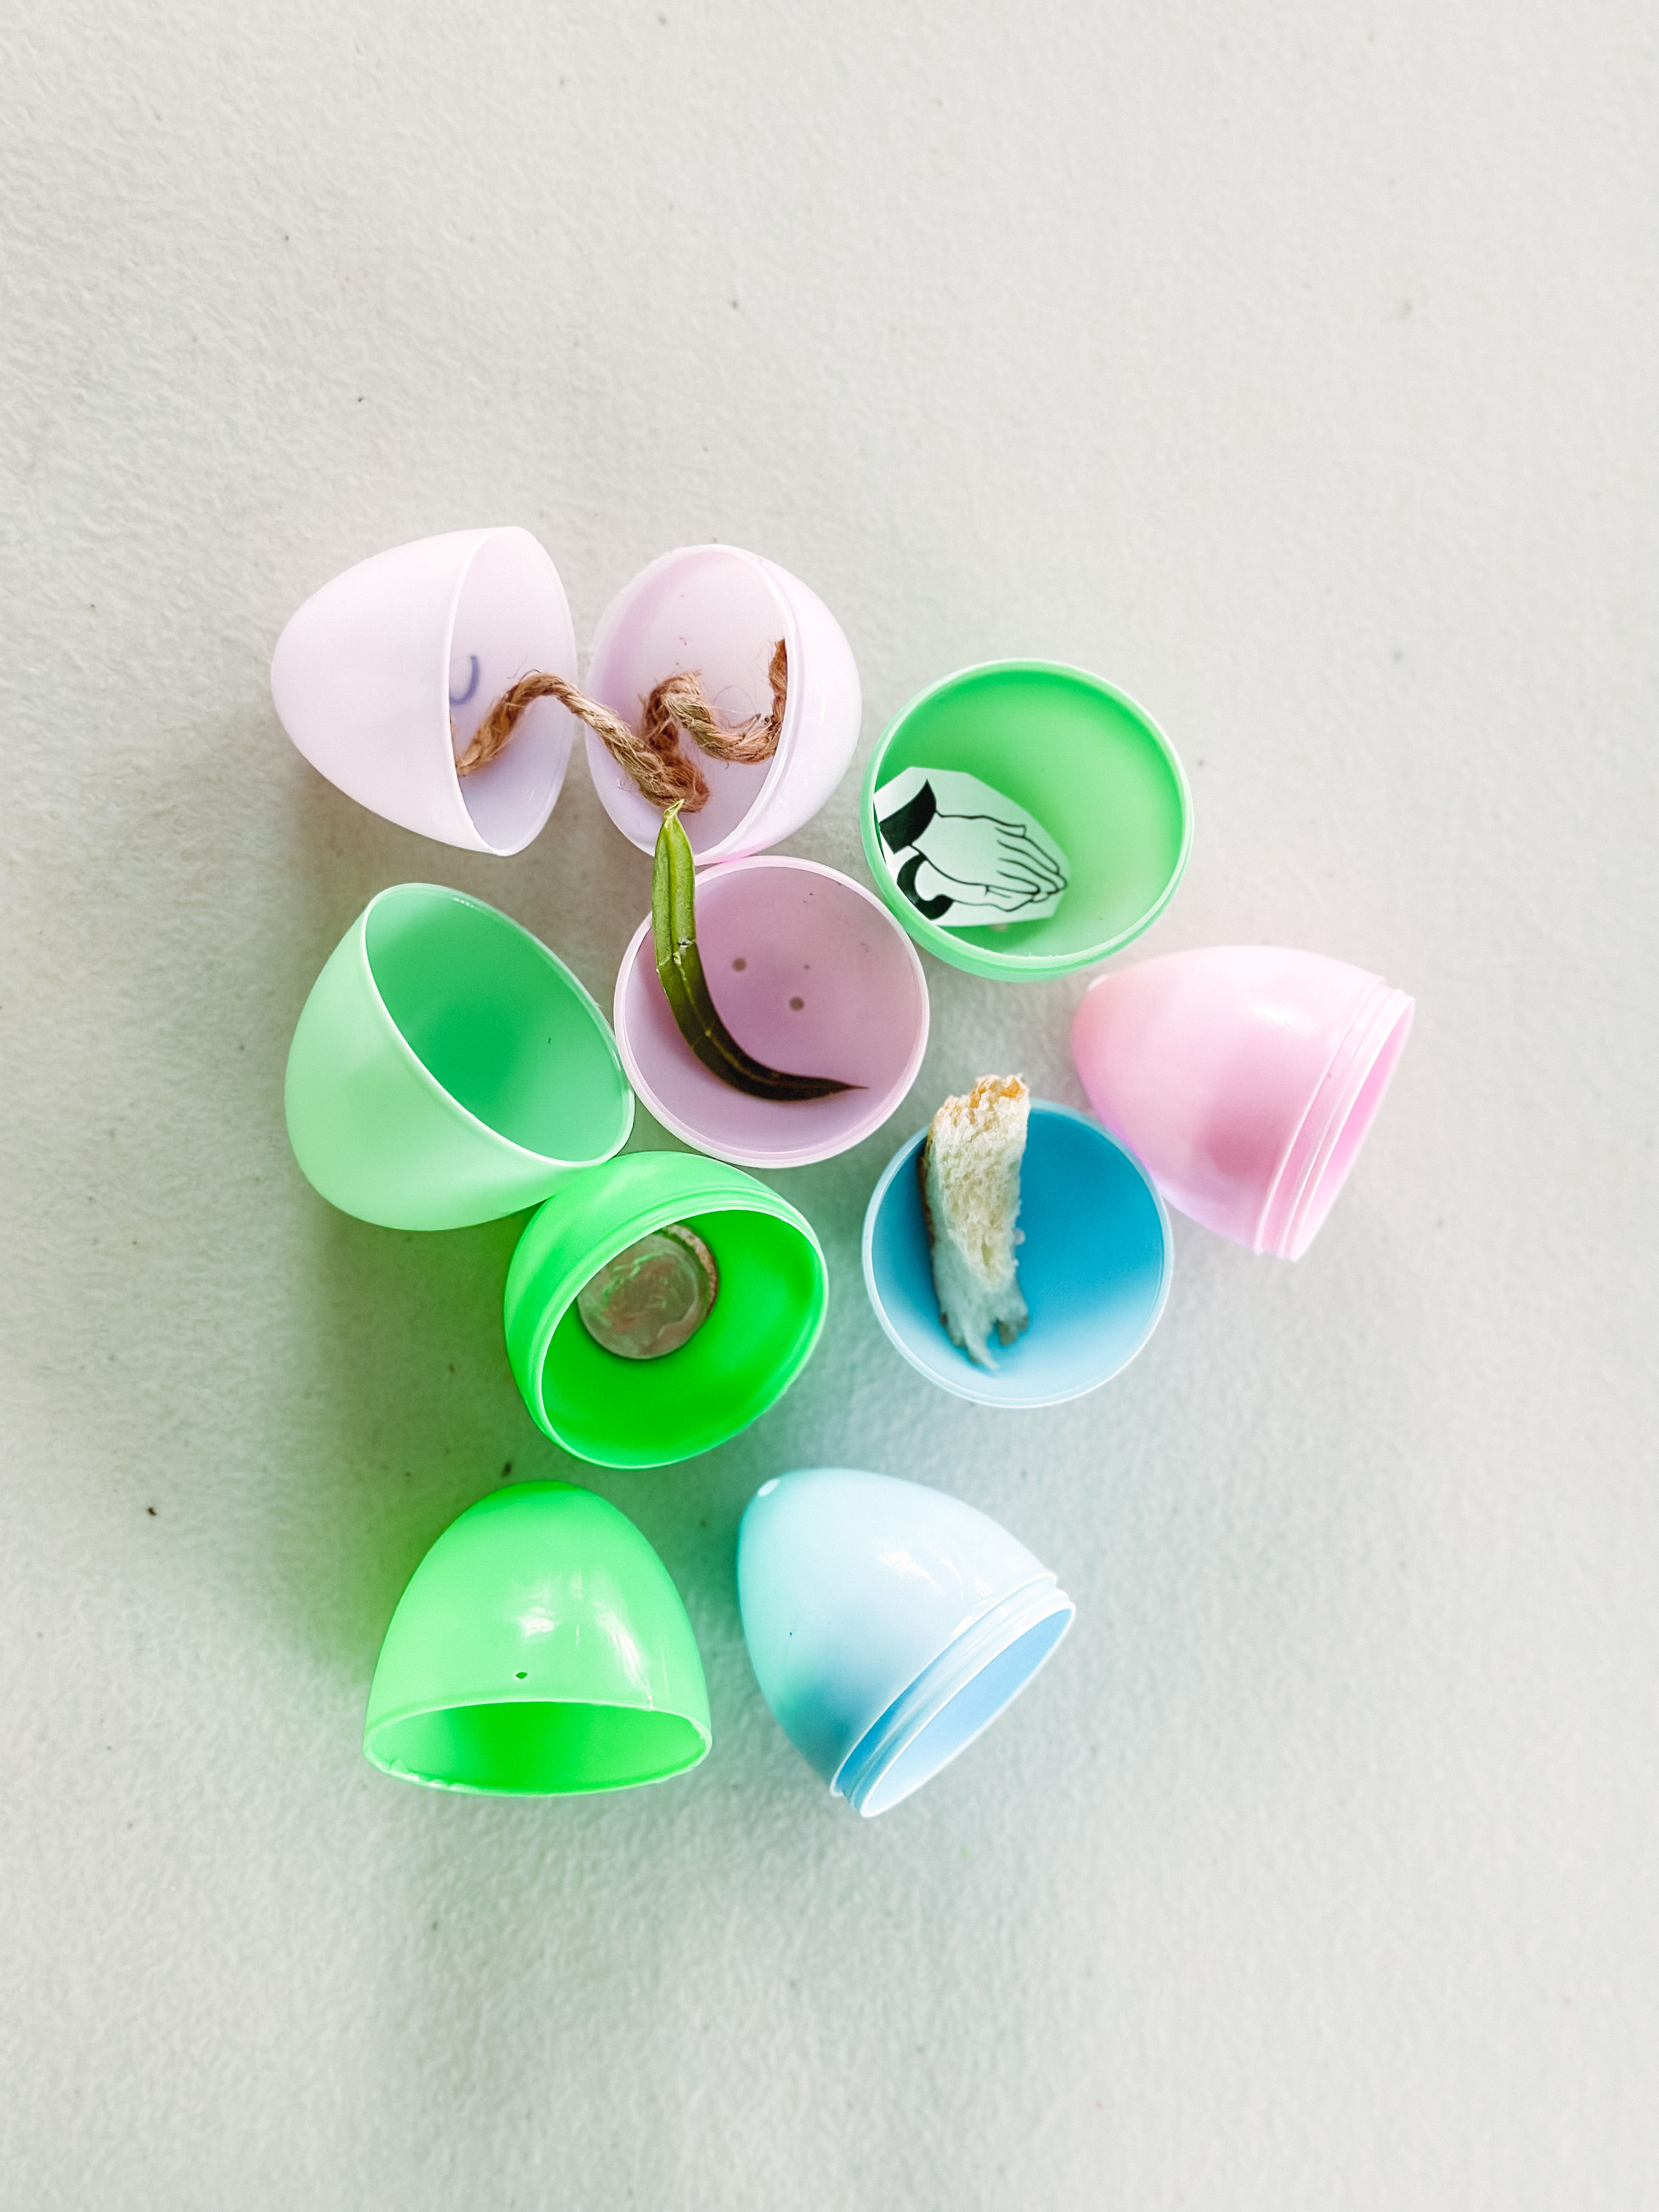
We started doing Resurrection Eggs a couple years ago and immediately fell in love with how it lead our children through the story of Easter. We love it so much that I had to share it with all of you! Each egg contains an object that correlates with a scripture. This year I added a second option for those that may not have the physical items to put in the eggs, but there is a printable option that kids can cut and insert a slip to each egg.
Supplies Needed:
- Egg carton.
- 12 Plastic eggs.
- Scissors
- Crayons, markers, color pencils (your choice).
- Sharpie
- Glue stick.
- Resurrection eggs printout.
- Items to fill the eggs or the slips in your download.
Now you are ready to go! You have a couple options to do this activity. You can do the eggs and scripture over the course of 12 days and open the last one on Easter or do them all at once. After they’ve completed the project I hide the eggs and once they find them we go over the entire story again. We repeat this several times leading up to Resurrection Sunday. My kids absolutely love it and I hope yours do too!
Step 1:
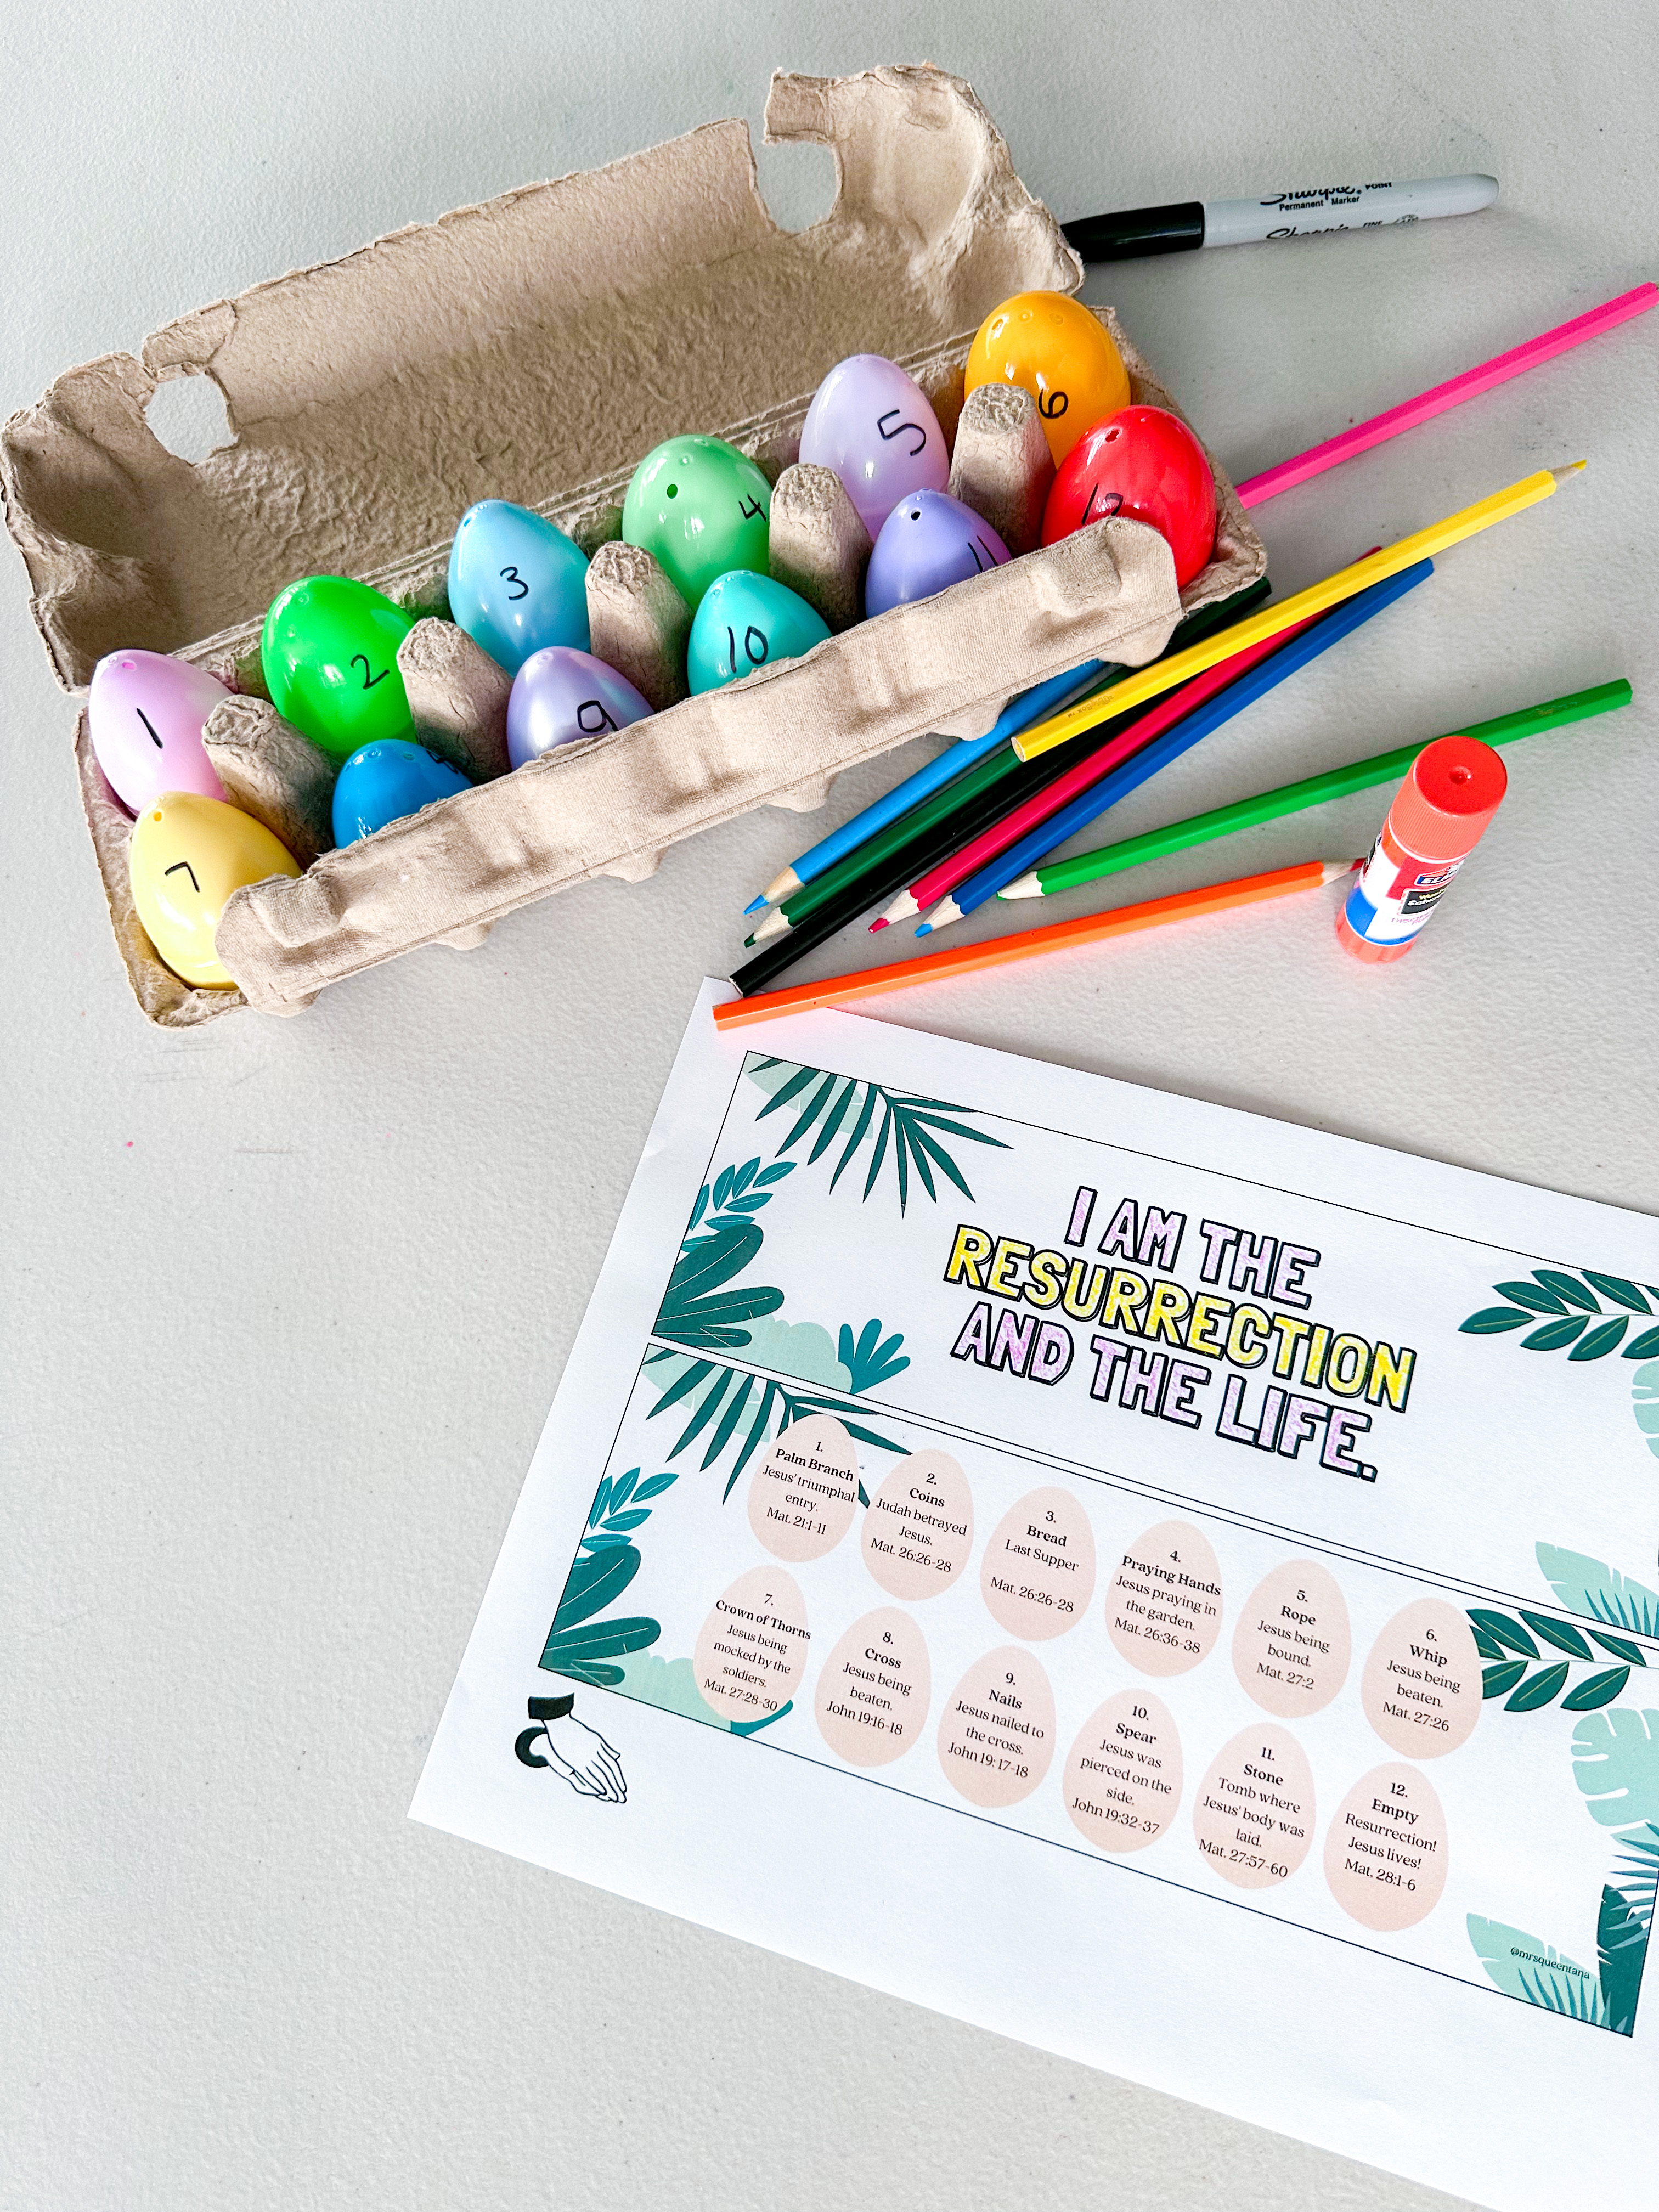
Download the Resurrection Egg Project and decide which option you will use. The physical items option or print the slips of paper.
Step 2:
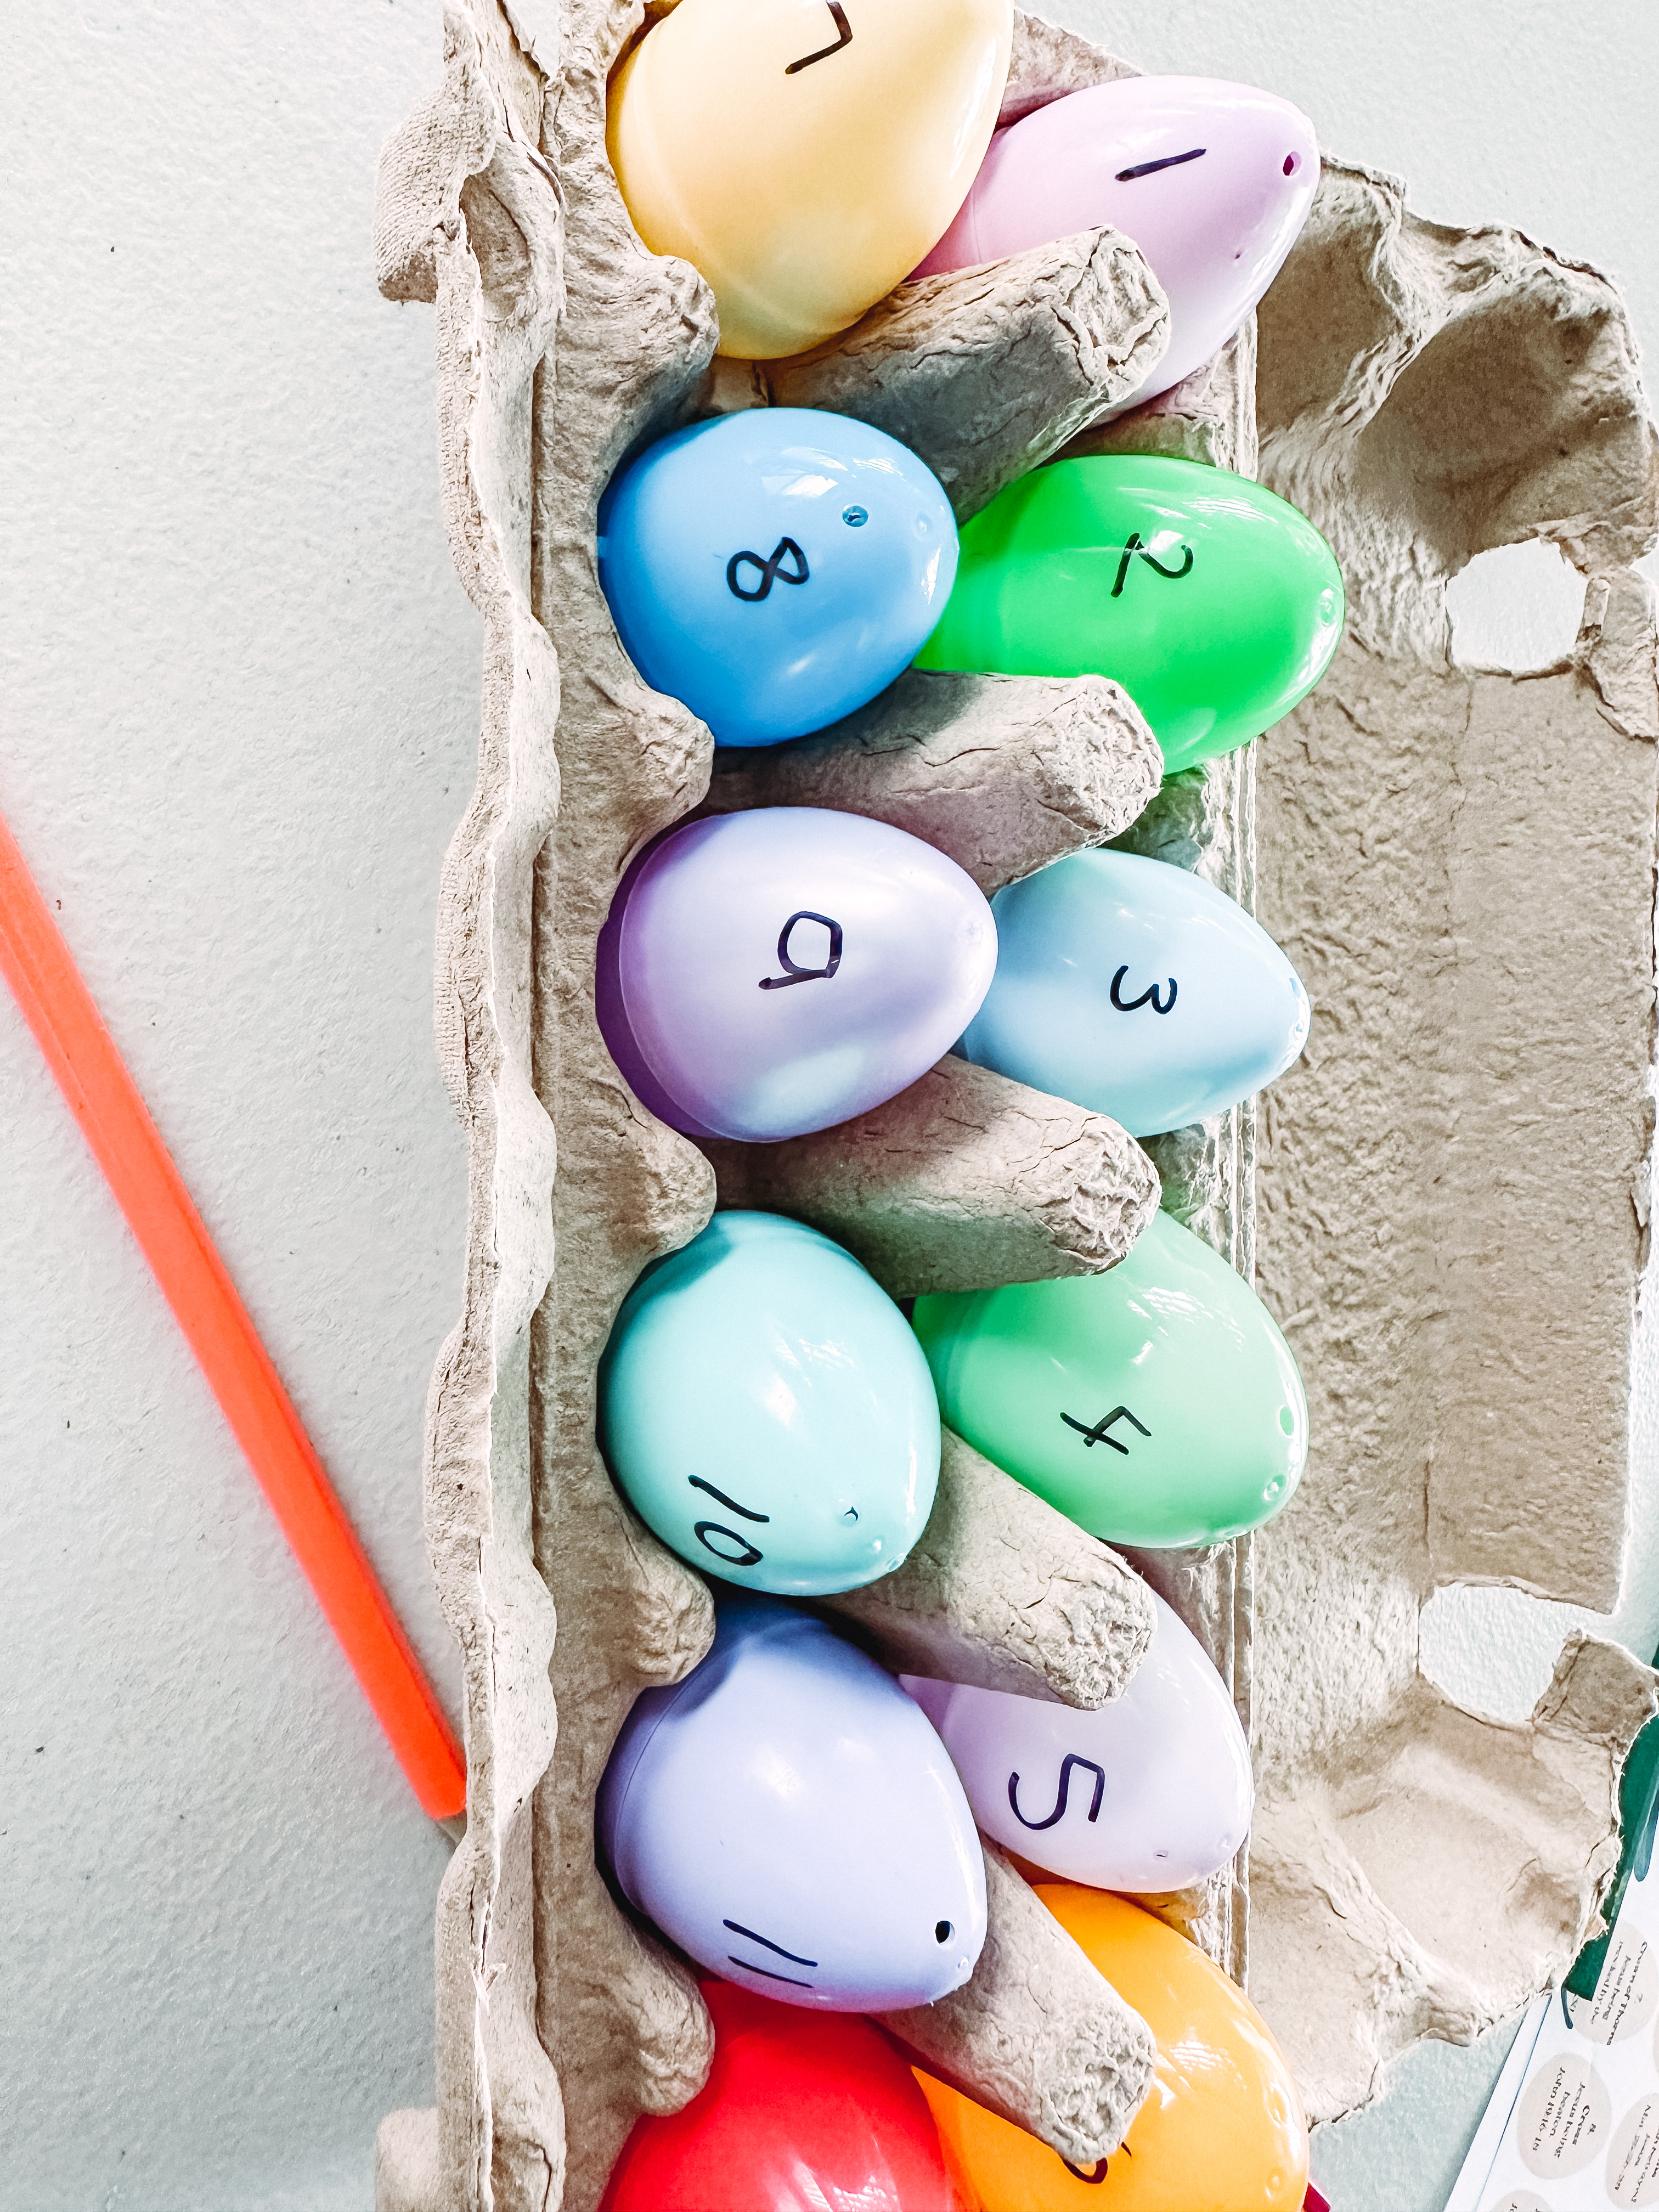
Prep the eggs by writing the numbers 1-12 on them with a Sharpie.
Step 3:
Allow time for your children to color, cut and glue the cover & scripture portion to the egg carton.
Step 4:
Start filling the eggs with the items listed or insert the slips and review the scripture that goes with it (in your download).
I hope you and your family enjoy this activity as much as we have. Thank you for making this part of your Easter tradition!

If you haven’t yet downloaded your file, here is your chance! DOWNLOAD


Leave a comment